
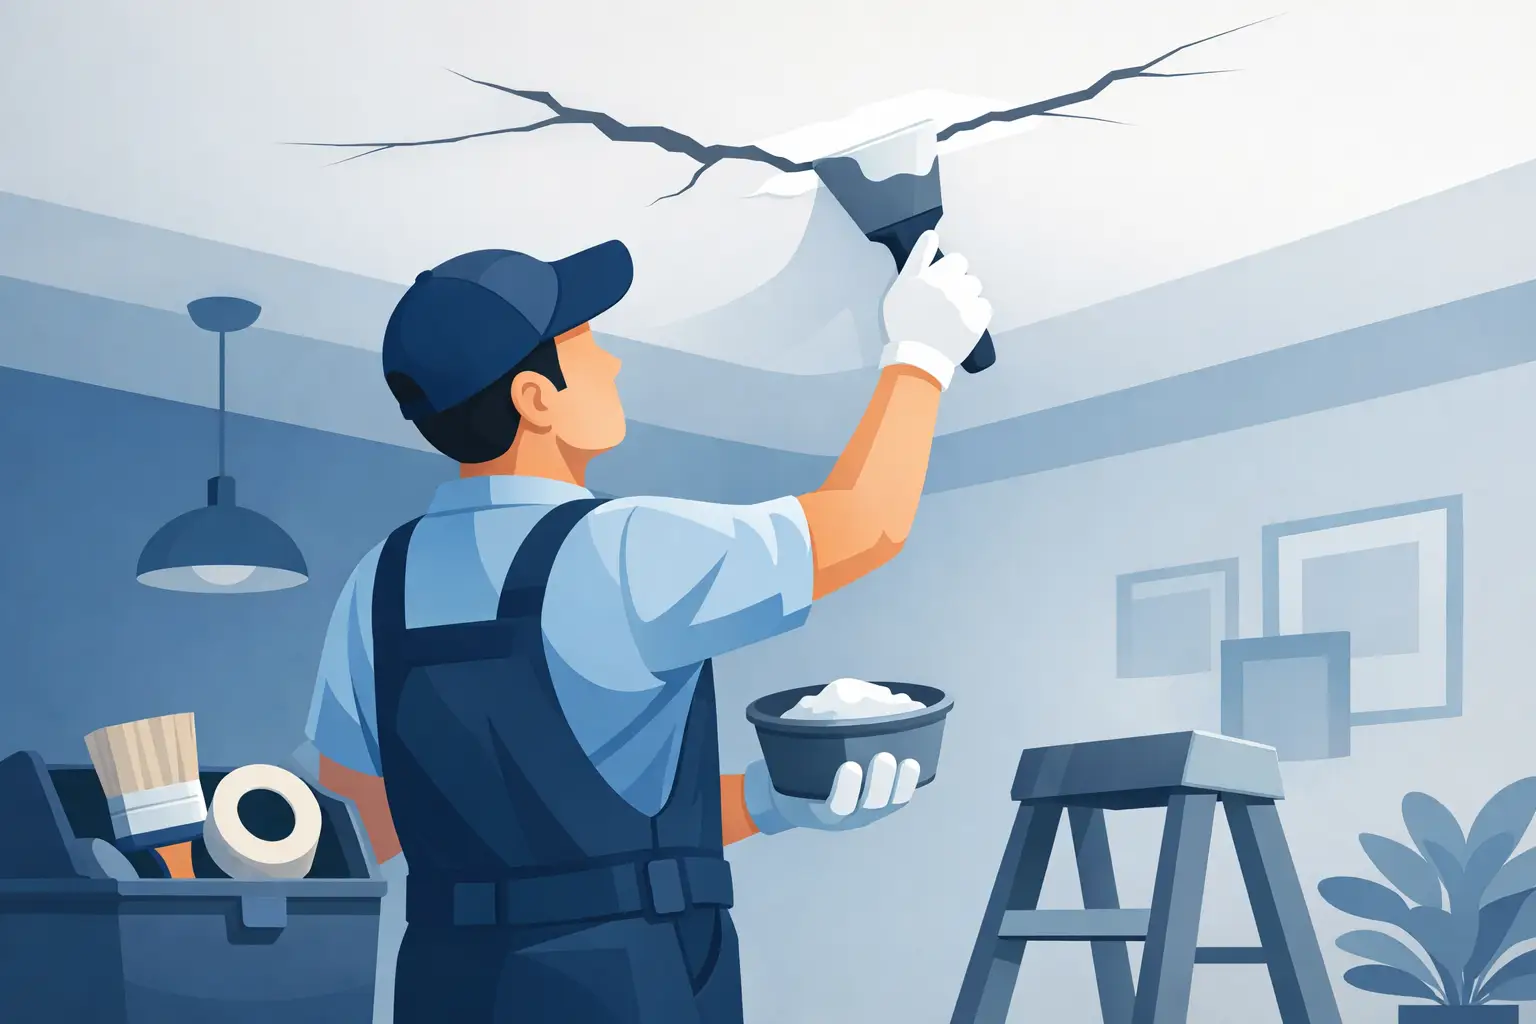
A ceiling crack can make an otherwise clean room look neglected fast. The right answer is not simply to cover it with paint or apply a quick layer of filler. Knowing how to fix ceiling cracks professionally starts with identifying why the crack appeared, then repairing and finishing the area so it blends into the rest of the ceiling.
For homeowners, condo owners, and landlords, a properly repaired ceiling protects the appearance of the space and helps prevent a small cosmetic issue from becoming a larger repair. The goal is a smooth, durable surface with no visible patch lines, flashing, or recurring cracks after painting.
Start by Finding the Cause of the Ceiling Crack
Not every ceiling crack needs the same repair. Some appear because a home has settled over time. Others come from seasonal movement, loose drywall tape, changes in humidity, poor original installation, water damage, or movement around a wall-to-ceiling joint.
A thin, straight crack along a drywall seam is often caused by tape that has released from the joint compound. This is a common issue in older homes, condos, and recently renovated spaces where the materials have moved slightly. A crack that extends from the corner of a door or window, or one that grows wider over time, may point to more movement in the framing or drywall.
Water stains, soft drywall, bubbling paint, or a sagging area require special attention. In that situation, the moisture source must be fixed before the ceiling is repaired. Patching damaged drywall while a roof leak, plumbing leak, or condensation issue remains active will only lead to another damaged ceiling.
Hairline cracks are frequently cosmetic, but wider cracks, repeated cracking in the same place, or cracks accompanied by sagging should be assessed carefully. If there is any concern about structural movement, an appropriate specialist should address that concern before cosmetic drywall work begins.
How to Fix Ceiling Cracks Professionally
A professional ceiling crack repair is a surface preparation and finishing job, not just a filling job. The repair needs enough reinforcement to move with the ceiling and enough careful sanding to disappear under primer and paint.
Open and stabilize the damaged area
The first step is to remove loose joint compound, peeling paint, and failed drywall tape around the crack. This creates a stable surface for the new repair materials. Applying compound over loose tape or crumbling material may look acceptable for a short time, but it will not hold up.
For a seam crack, the damaged tape is cut away or opened as needed. The surrounding drywall is checked for looseness, and any missing or loose fasteners may be corrected before patching begins. This step matters because drywall movement underneath the finish is one of the main reasons cracks return.
Reinforce the crack instead of hiding it
Once the area is clean and stable, the crack is reinforced with the right tape or patching material. Paper drywall tape is commonly used for flat seams because it creates a strong bond when properly embedded in joint compound. Fiberglass mesh tape can be useful in certain repair situations, although it needs the right compound and application method to avoid a raised or visible finish.
The material choice depends on the location and condition of the crack. A long ceiling seam may need new tape along the full affected section, while a smaller isolated crack may only require localized reinforcement. Corners, transitions, and areas with ongoing building movement may need a different approach than a simple flat ceiling seam.
Build the repair in thin coats
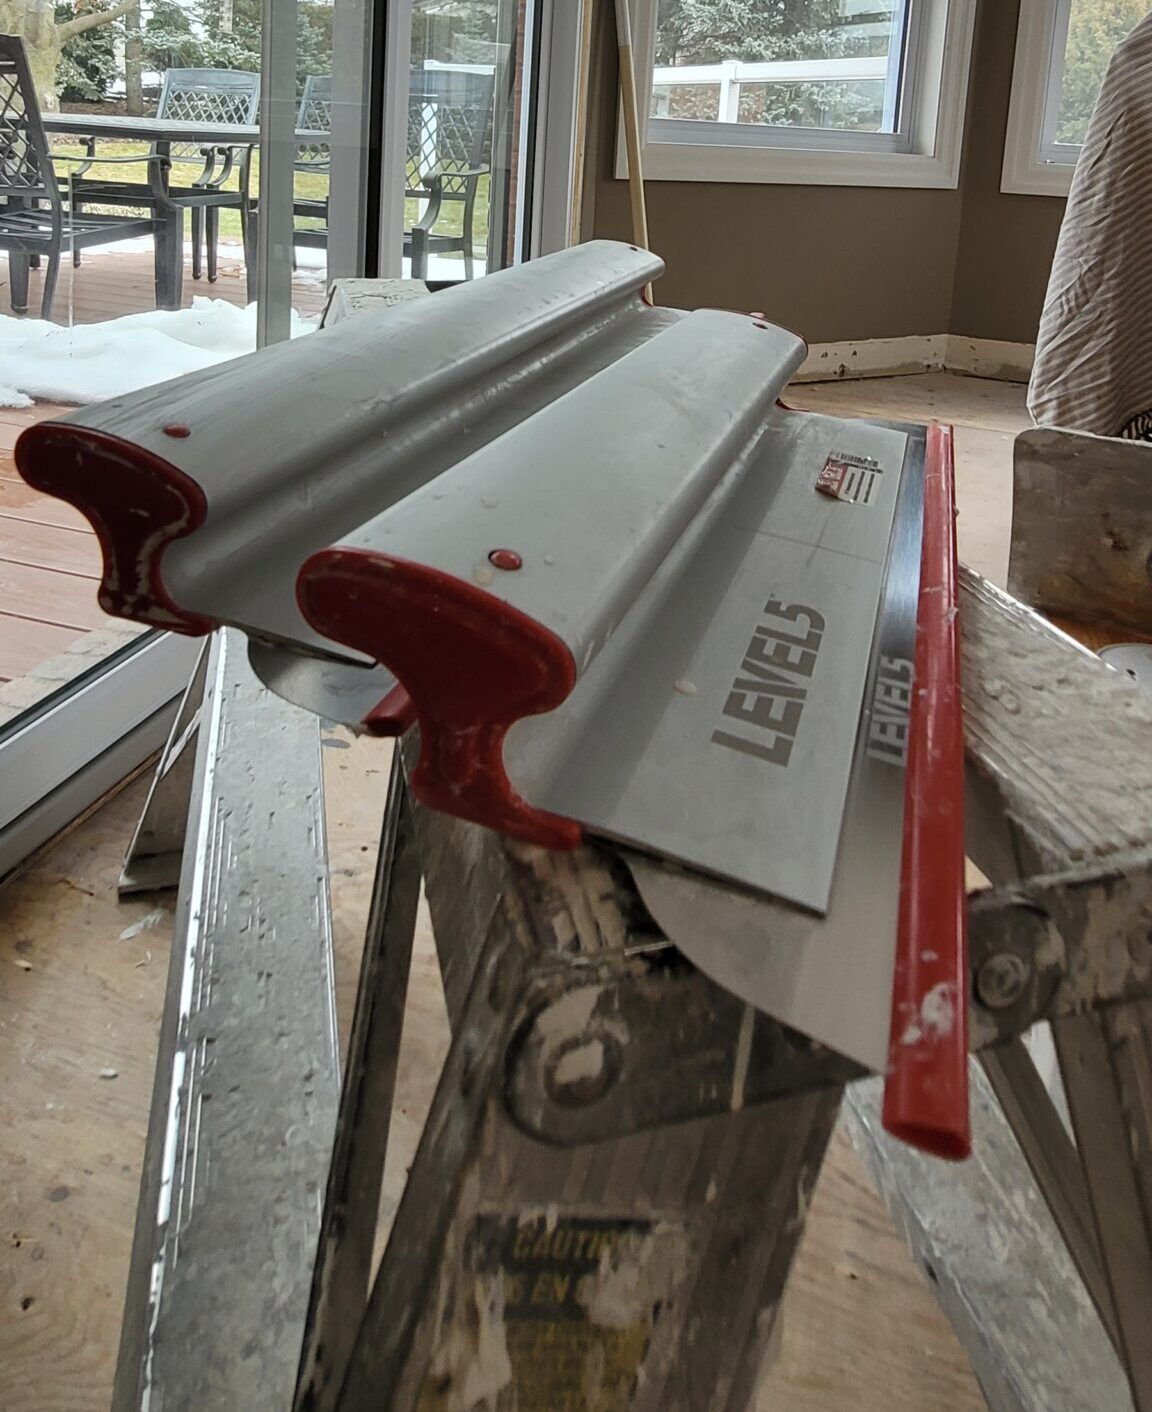
Professional results come from several controlled coats of drywall compound, not one thick application. The first coat embeds the tape and fills the repair. Later coats are feathered wider across the ceiling so the transition from repaired area to original surface is gradual.
This wider feathering is especially important on ceilings. Overhead lighting can reveal even slight ridges, depressions, or trowel marks. A repair that feels smooth by hand can still show through once light hits it at an angle.
Each coat needs proper drying time before the next coat is applied. Rushing this process can trap moisture in the compound, cause shrinkage, and leave the repair uneven. The number of coats depends on the depth and size of the damaged area, but the objective is always the same: restore a flat, consistent plane.
Sand, prime, and match the ceiling finish
After the final coat has dried, the area is sanded carefully to remove edges and create a smooth finish. Dust control is part of professional work, particularly in occupied homes and condos. The repair area should be protected, and the work area should be left clean once the sanding is complete.
Primer is then applied before painting. Primer helps seal the repaired drywall compound, creating an even surface for the finish coat. Skipping primer can lead to uneven sheen, dull patches, or visible differences in texture after the ceiling is painted.
Matching the existing ceiling texture also matters. A smooth ceiling needs smooth finishing. A textured ceiling may require a matching texture application before painting. Popcorn ceilings require added care because disturbing the material can create a noticeable patch, and older textured ceilings may need testing before any removal or extensive disturbance.
Why Paint Alone Does Not Fix a Ceiling Crack
Fresh paint can temporarily reduce the appearance of a fine crack, but it does not reinforce a failed drywall seam or damaged surface. As the ceiling shifts with temperature and humidity changes, the crack can reopen through the paint.
Caulk is also not a universal solution. It can work for very small gaps where a wall meets a ceiling trim detail, but it is generally not the best repair for a cracked drywall seam across an open ceiling. It may remain flexible, yet it can attract dirt, affect paint sheen, and leave a visible line in certain lighting conditions.
The trade-off is simple: a quick cosmetic cover-up costs less in the moment, but a proper taped, compounded, primed, and painted repair is more likely to deliver a lasting result. For a visible ceiling in a living room, hallway, bedroom, rental unit, or condo, the finished appearance is usually worth doing correctly.
When a Ceiling Crack Needs More Than Drywall Repair
Most ceiling cracks are repairable cosmetic issues, but a contractor should look more closely when there are warning signs. Water staining, repeated cracks after past repairs, a noticeable dip in the ceiling, cracking across several rooms, or doors and windows suddenly sticking can indicate a problem beyond the finished drywall surface.
In a condo, leaks from an upper unit, building plumbing, or common elements may need to be reported and resolved before repairs begin. In a house, roof leaks, attic moisture, or plumbing lines above the ceiling should be checked first. A quality repair should never conceal an active source of damage.
This is also why an on-site assessment is valuable. Photos can help identify the general issue, but the condition of the tape, drywall, framing, moisture, and existing texture often determines the correct repair method.
What a Clean Professional Repair Should Include
A reliable ceiling repair service should protect nearby floors and furniture, contain dust, remove loose material, reinforce the damaged area, apply and sand the compound carefully, prime the repair, and finish the ceiling for a consistent look. Cleanup is not an extra detail. It is part of completing the job properly in an occupied home.
The quality of the final paint work is just as important as the patch itself. Ceiling paint needs even coverage and the correct sheen so repaired areas do not stand out. Depending on the age of the paint and the lighting in the room, painting the full ceiling is often the best way to avoid a visible color or sheen difference.
For Toronto and GTA property owners, Maximum Services provides drywall repair and interior painting with attention to preparation, clean work areas, and a finished result that looks right from every angle. A clear quote and a proper assessment help ensure the repair matches the condition of the ceiling rather than applying a one-size-fits-all patch.
A ceiling crack does not have to remain a distraction in an otherwise well-kept room. Address the cause first, repair the surface with the right materials, and allow enough time for careful finishing. That is how a damaged ceiling returns to looking smooth, clean, and ready for the years ahead.
No responses yet