
A textured ceiling can make an otherwise clean room feel dated the moment you look up. For many homeowners, this guide to textured ceiling removal starts with one simple goal: make the space look brighter, smoother, and more up to date without turning the project into a mess that drags on for days.
That goal is reasonable, but the process is rarely as simple as scraping and painting. Ceiling texture removal affects the look of the room, the condition of the drywall underneath, the amount of dust and debris created, and the quality of the final finish. If the work is done properly, the ceiling looks clean and uniform. If it is rushed, every seam, patch, and sanding mark can become more visible than the original texture.
Why homeowners remove textured ceilings
Most people decide to remove ceiling texture for appearance first. Heavy texture, especially older popcorn-style finishes, can make rooms feel darker and older than they really are. Smoother ceilings reflect light better, photograph better, and usually help the rest of the paint and trim look more polished.
There is also a practical side. Textured ceilings can trap dust, show repairs unevenly, and make future updates more difficult. In condos and houses where owners are repainting, repairing drywall, or getting a property ready for sale or rent, ceiling texture removal is often part of a broader cosmetic improvement plan.
Still, not every textured ceiling should be removed. In some homes, the texture is hiding poor drywall finishing or previous repairs. Once the texture is gone, those flaws need proper skim coating and sanding to create a surface that actually looks better. That is where experience matters.
What this guide to textured ceiling removal should help you understand
The biggest misconception about textured ceiling removal is that the texture is the whole job. It is not. Scraping is only one stage. The real difference between an average result and a professional result usually comes after removal, when the ceiling needs repair, smoothing, sanding, priming, and painting.
A dependable contractor looks at the full scope before starting. That includes the type of texture, the age of the home, the condition of the drywall, ceiling height, room contents, and how much protection and cleanup will be required. In occupied homes and condos, clean site control matters almost as much as the finishing work itself.
First, the ceiling needs to be assessed
Before any removal begins, the ceiling should be checked for age, adhesion, damage, and previous patchwork. Some textures come off relatively cleanly. Others are painted over, which makes scraping slower and less predictable. Once paint seals the surface, removal often becomes more labor-intensive and may require more aggressive finishing afterward.
In older properties, there is another concern: asbestos. If the ceiling texture predates modern material standards, testing may be necessary before disturbing the surface. This is not an area for guesswork. If asbestos is present or suspected, removal must be handled according to proper safety procedures.
Moisture damage should also be identified before the work starts. Water stains, sagging areas, or soft drywall point to a larger issue. Removing texture without addressing the source of damage only leads to repeat repairs later.
How textured ceiling removal is typically done
In most cases, the room is prepared first with full floor protection, wall masking where needed, and removal or covering of furniture and fixtures. This step often determines how clean and manageable the rest of the project will be. Ceiling work creates fallout, and proper containment helps protect the space.
The texture is then softened or loosened if the material allows for it. Some ceilings scrape down reasonably well, while others resist removal because of paint buildup or uneven application. Even when scraping goes smoothly, the drywall underneath is rarely ready for paint right away.
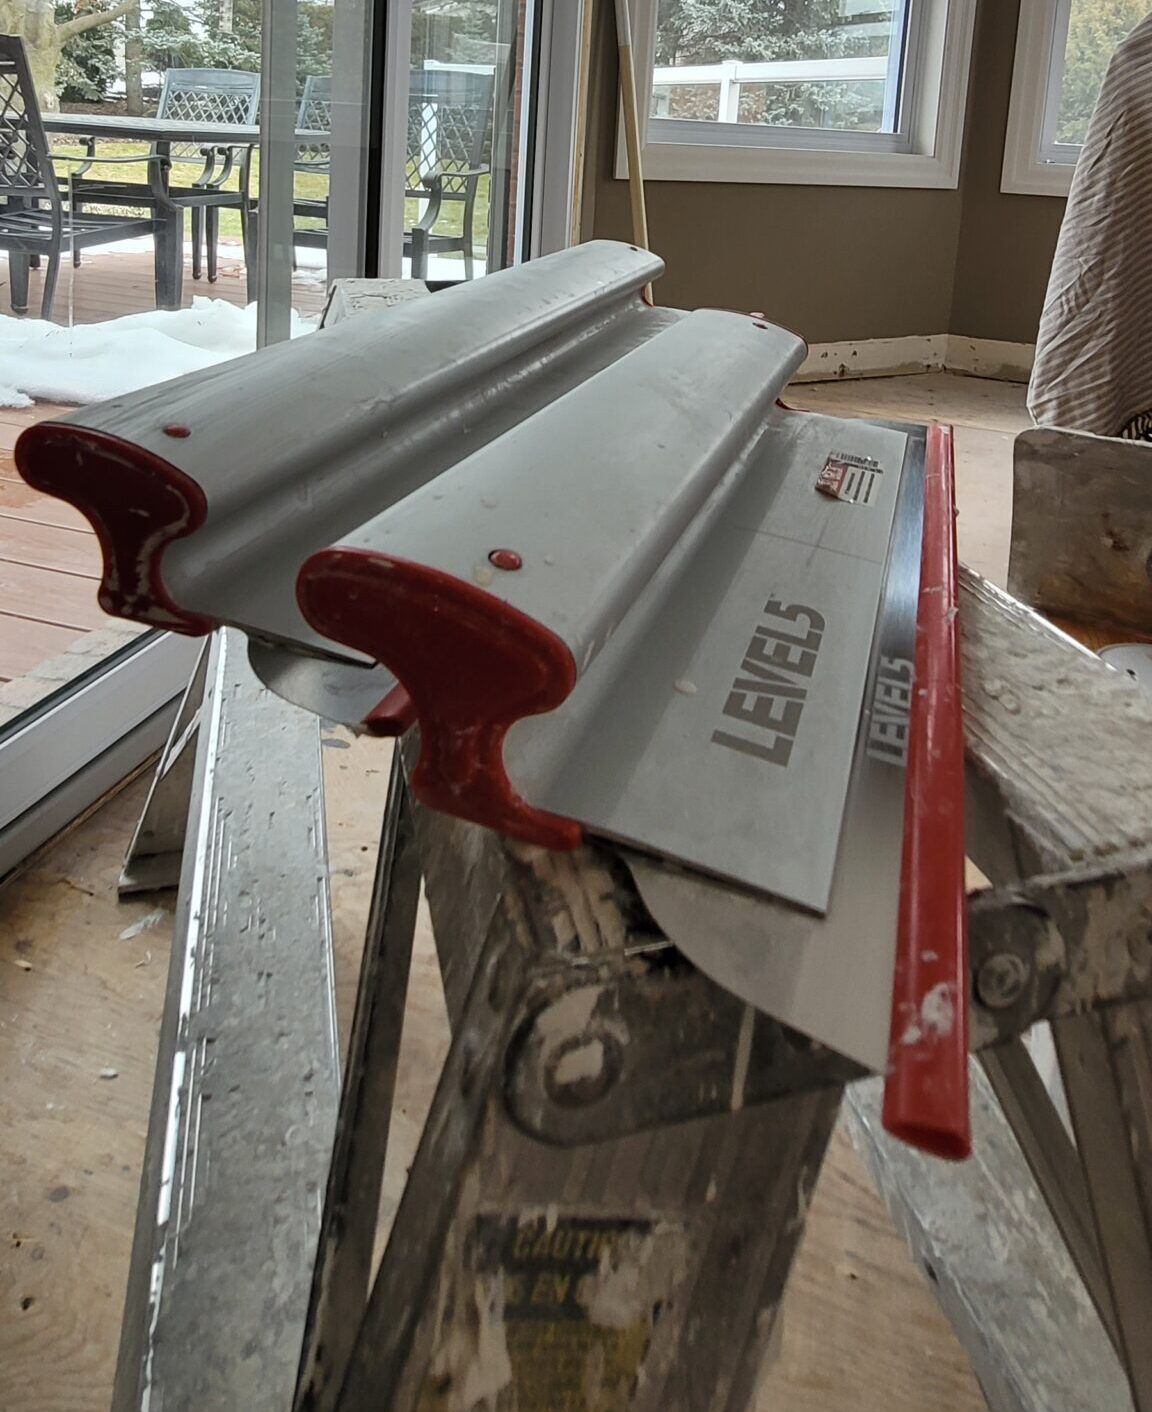
After the texture is removed, the surface usually needs patching and skim coating. This stage levels out imperfections, fills gouges, and blends seams or earlier repairs. Once dry, the ceiling is sanded to create a consistent finish. Then it is primed and painted.
That sequence matters. Homeowners sometimes focus on removal as the main cost, but a smooth-looking ceiling depends on the finishing stages being done carefully. A contractor who rushes those steps can leave chatter marks, ridges, flashing, or visible repairs across the surface.
The hidden challenge is the finish quality
Ceilings are unforgiving. Light from windows and fixtures hits them at angles that expose flaws quickly. A wall patch that might go unnoticed can stand out on a ceiling once the paint dries. That is why smooth ceiling work requires patience and a strong eye for detail.
There is also a trade-off to consider. The smoother the desired finish, the more preparation and refinement may be needed. Some ceilings require extensive skim coating to achieve a near-flat appearance. Others may only need localized repairs before priming and painting. The right approach depends on the condition of the substrate and the homeowner’s expectations.
For rental units, a clean and improved finish may be the priority. For a primary residence with strong natural light and open sightlines, a higher level of finishing may be worth the investment. Good contractors explain that difference clearly instead of promising the same result in every room.
Guide to textured ceiling removal costs and timeline
Cost depends on more than square footage. Ceiling height, room accessibility, furniture protection, painted texture, repair needs, and the level of finish all affect labor. A simple bedroom with manageable texture is a different job from a large living area with lighting cutouts, prior patches, and heavy paint buildup.
Timeline also varies. Some projects can move quickly, but drying times for skim coat, primer, and paint still have to be respected. In condos, access rules, elevator use, disposal requirements, and work-hour restrictions can also affect scheduling.
The best estimates are specific. They explain what is included, whether patching is part of the price, how many coats will be applied, and what level of cleanup to expect. That clarity protects homeowners from surprise add-ons and helps set realistic expectations from the start.
Why professional removal is usually the better choice
Most property owners looking up a guide to textured ceiling removal are not actually looking for a weekend project. They want to know what is involved so they can hire the right company and avoid a poor result.
That makes sense. Ceiling removal is messy, physically demanding, and very visible when done badly. A professional crew brings the tools, protection methods, repair skills, and finishing experience needed to complete the work efficiently. Just as important, they know how to manage the job without creating unnecessary damage to floors, walls, fixtures, or adjacent rooms.
Professional service also reduces the risk of half-finished results. It is common for removal projects to uncover defects that were hidden by texture. An experienced contractor can correct those issues as part of the process and deliver a ceiling that actually looks complete, not just stripped down.
What to ask before hiring a contractor
Homeowners should ask how the company handles dust and site protection, what level of drywall repair is included, and whether priming and painting are part of the service. It is also worth asking about experience with popcorn ceiling removal specifically, since that work often involves more repair and a higher finishing standard.
Reputation matters here. A contractor with a long local track record, consistent workmanship, and a clean, organized process is usually the safer choice than the lowest quote. In a service category where details show in every square foot, reliability is part of the finished product.
For homeowners and condo owners who want the job done properly, Maximum Services has built its reputation around that kind of work: careful preparation, quality finishing, and clean results delivered on time.
When removal makes the most sense
Textured ceiling removal is usually worth doing when the ceiling makes the room feel dated, when repairs are already needed, or when a broader repainting project is underway. It is also a smart upgrade before listing a property, especially in spaces where natural light highlights the ceiling.
The key is to treat it as a finish project, not just a demolition step. Removing the texture is only the beginning. What matters most is how well the ceiling is restored afterward, and whether the finished surface looks smooth, clean, and consistent from every angle.
A better ceiling changes the whole room quietly. It lets the walls, lighting, trim, and paint do their job without distraction, which is exactly what most homeowners wanted in the first place.
No responses yet