
A wall can look like it has a small problem – a door-handle dent, nail holes, a seam crack, or a water stain – but a good repair depends on what is happening below the surface. How professionals repair drywall is less about applying filler quickly and more about choosing the right repair method, rebuilding the surface properly, and finishing it so the repaired area does not show after painting.
For homeowners, condo owners, and landlords, this matters because drywall repairs are usually completed in the most visible parts of a property: living rooms, hallways, bedrooms, and ceilings. A repair that looks acceptable before paint can become obvious once daylight hits the wall or a fresh coat of paint goes on.
How Professionals Repair Drywall Starts With Assessment
Before any patching begins, an experienced drywall contractor identifies the cause, size, and location of the damage. Small nail holes and shallow dents can often be repaired with a light application of compound. Larger holes, damaged corners, loose tape, or water-related damage require a different approach.
Cracks also need to be evaluated carefully. A narrow crack may come from normal seasonal movement, especially around door frames or drywall seams. However, a recurring crack can point to loose drywall, framing movement, or a problem that needs to be stabilized before finishing. Covering it with compound alone may look better briefly, but the crack can return.
Water damage deserves special attention. If the source of moisture has not been fixed, repairing the drywall only hides an ongoing issue. A professional checks whether the board is soft, swollen, stained, or affected by mold. In many cases, the damaged section should be removed and replaced rather than skimmed over.
Matching the Repair Method to the Damage
The right repair is based on the condition of the wall, not simply the size of the visible mark. This is where experience saves time and prevents repeat work.
Small holes, dents, and surface damage
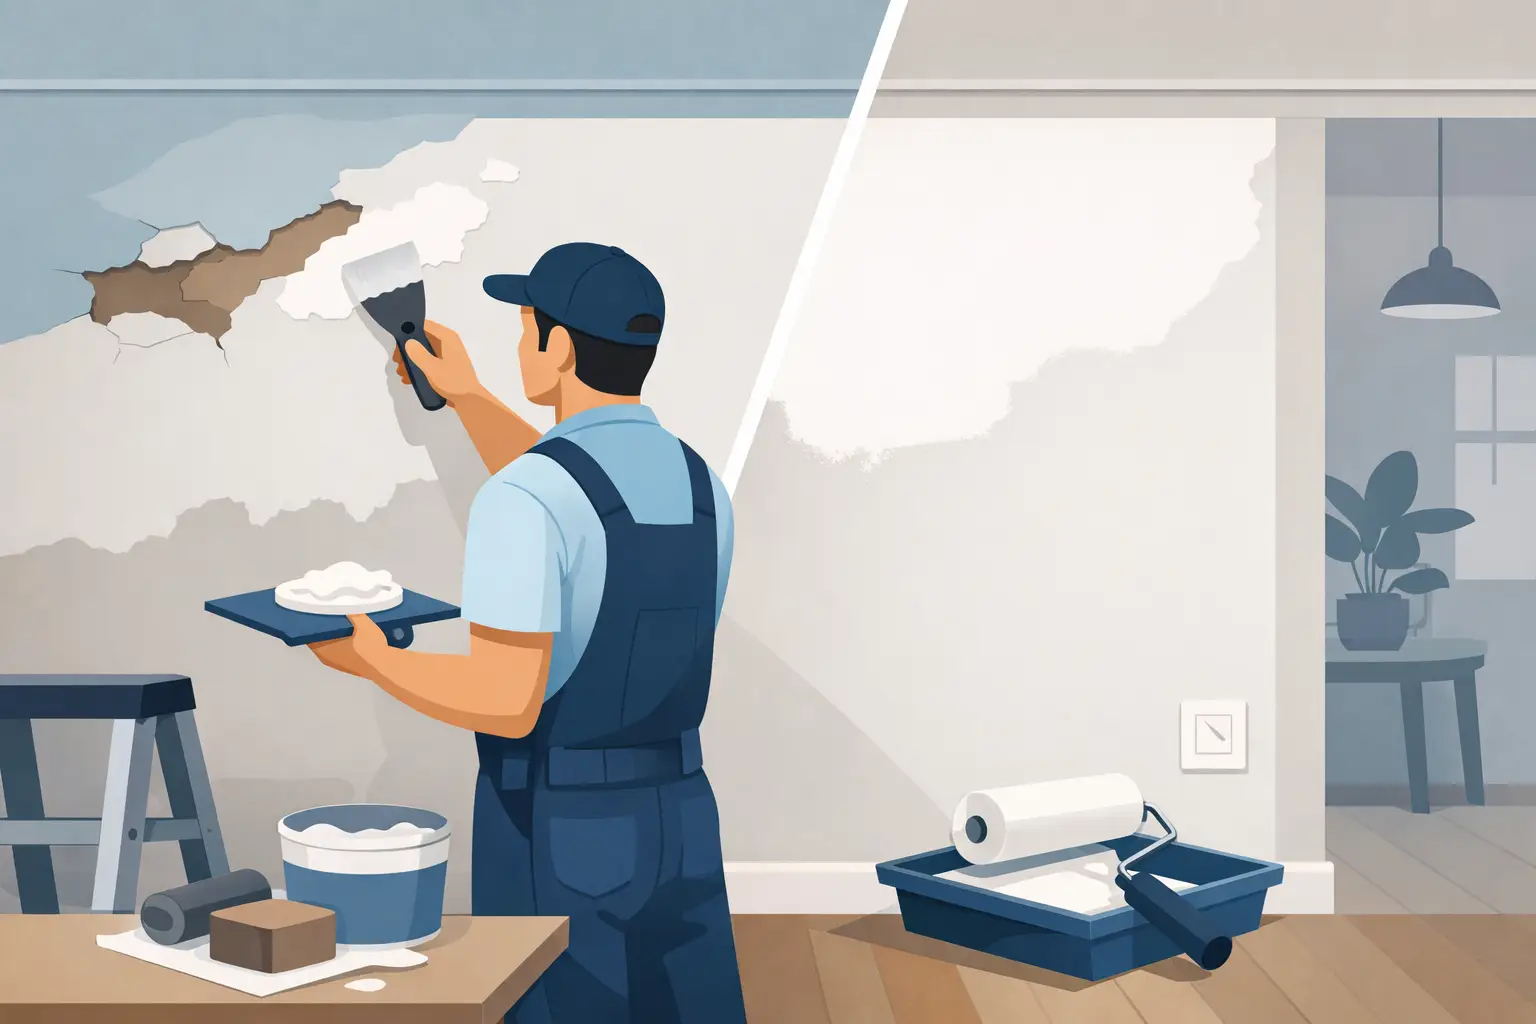
For small holes left by picture hooks, wall anchors, or minor impacts, the repair usually begins with cleaning away loose paper and rough edges. A quality drywall compound is applied in thin coats, with each coat extending slightly beyond the previous one. This gradual feathering prevents a raised spot in the center of the repair.
Rushing this stage is a common reason small patches show through paint. One heavy coat shrinks as it dries and often leaves an edge that is difficult to hide. Several controlled coats take more time, but they produce a flatter result.
Medium and large holes
A hole from a doorknob, plumbing access, or accidental impact needs solid backing. Professionals cut the damaged drywall into a clean shape, then install support behind the opening. A new piece of drywall is fitted into the area and secured so it sits flush with the existing wall.
The seams are reinforced with drywall tape before compound is applied. This reinforcement is essential. Without it, movement at the joint can create a visible crack after the repair has been painted.
For a larger section, the contractor may need to locate studs and replace drywall from stud to stud. It can seem like more work than patching the center of the damaged area, but it provides a stronger repair and cleaner seams when the damage is extensive.
Cracked seams and loose drywall tape
Seam cracks are not repaired the same way as a simple hole. Loose or bubbling tape is removed, and the area is prepared before new tape is embedded in compound. The repair is then built up in wide, thin layers to blend it with the surrounding wall.
The width of the finished area is often much greater than homeowners expect. That is intentional. A wide feathered edge disappears more effectively under paint than a narrow, thick buildup around the seam.
Damaged corners
Outside corners are vulnerable to impacts from furniture, vacuums, and everyday traffic. If the corner bead is dented or loose, compound alone will not restore a straight, durable edge. The damaged section may need to be cut out and replaced before it is taped, coated, sanded, and primed.
A properly repaired corner should look straight from multiple angles, not just from directly in front of it. This attention to alignment is especially noticeable in hallways and high-traffic condo spaces.
The Difference Is in Taping, Coating, and Sanding
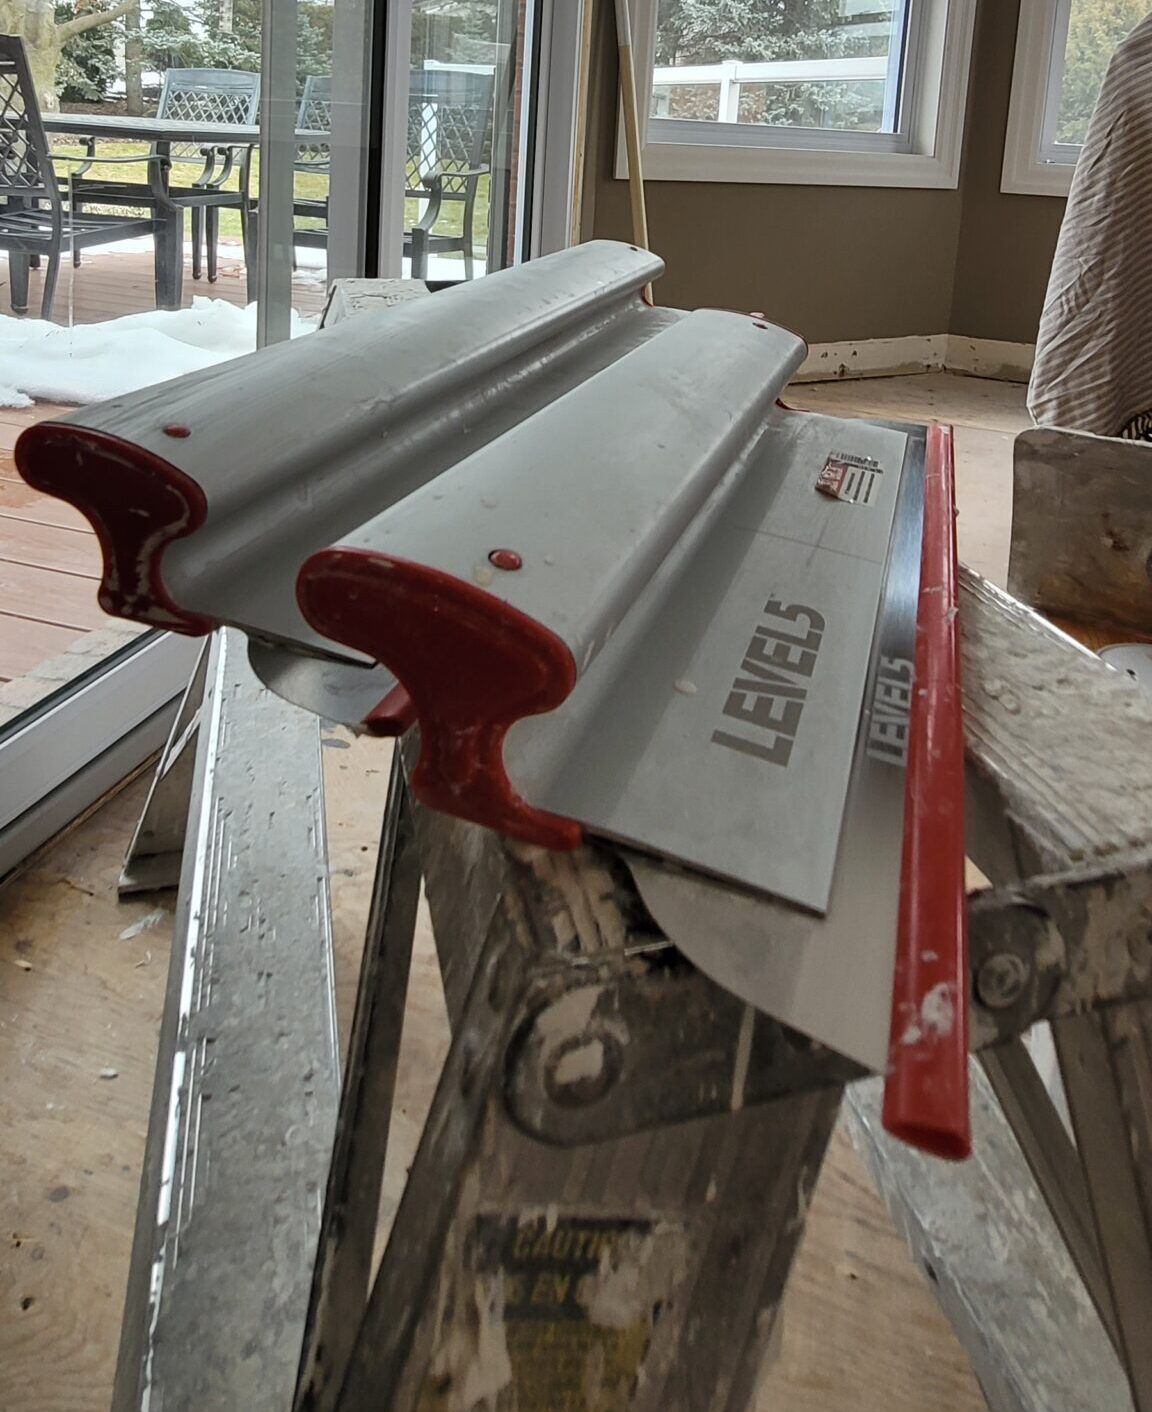
Most drywall repair problems happen during finishing, not during the patch itself. A patch can be secure but still look uneven if the compound is applied too thickly, the transition is too narrow, or the sanding is inconsistent.
Professionals build the surface in stages. After the first coat fills joints and embeds tape, later coats are spread wider to create a gradual transition from the repair to the original wall. Drying time matters because sanding or recoating compound before it has cured properly can cause tearing, gouging, and uneven texture.
Once dry, the area is sanded carefully to remove ridges without damaging the drywall paper. The goal is not simply a smooth spot under a hand. The goal is a flat visual plane that will still look smooth in side lighting.
Experienced painters and drywall finishers often inspect the wall from different angles. Light from windows, ceiling fixtures, and lamps can reveal imperfections that are invisible when standing directly in front of the repair. This is why a repair may be sanded, checked, and touched up more than once before it is ready for primer.
Texture, Ceilings, and Hard-to-Match Surfaces
Smooth drywall is usually the easiest surface to blend, but it still requires skilled finishing. Textured walls and ceilings add another level of difficulty because the repaired area must match the surrounding pattern.
Popcorn ceilings are a good example. Repairing a stain, crack, or damaged section may involve removing loose texture, repairing the drywall underneath, and applying new texture that blends with the existing ceiling. The final appearance depends on matching both the texture density and the edge of the repair.
Older homes can be particularly challenging because previous paint layers, uneven walls, and repairs completed over many years can affect the final result. Sometimes a localized patch is appropriate. In other cases, a wider skim coat or repainting the full wall is the more practical choice for a uniform finish.
Primer and Paint Complete the Repair
Drywall compound is porous and absorbs paint differently than a previously painted wall. Applying finish paint directly over a repair can create a dull spot, flashing, or a visible change in sheen. Primer helps seal the repaired area so the paint dries evenly.
Color and sheen also matter. Even when the wall color is known, paint can fade or change slightly over time. A touch-up may be visible if the existing paint is aged, if the wrong sheen is used, or if the wall was originally painted with a different application method. Flat paint is generally more forgiving, while eggshell, satin, and semi-gloss finishes can reveal more surface imperfections.
For this reason, professionals may recommend painting the full wall after a repair instead of touching up only the patch. It depends on the paint condition, lighting, location of the damage, and how closely an existing color can be matched. Painting one complete wall often gives the cleanest result without requiring the entire room to be repainted.
Clean Work Practices Matter Inside Your Home
Drywall sanding creates fine dust, and a professional repair process should account for that from the beginning. Floors, furniture, and nearby surfaces should be protected, while the work area is kept organized. Dust control is especially valuable in occupied homes and condos, where repairs often need to be completed with minimal disruption.
A clean job site also makes inspection easier. When surfaces are protected and debris is removed, the finished repair can be reviewed in proper lighting before the work is considered complete. Reliable contractors do not treat cleanup as an extra step. It is part of delivering a finished space that is ready to use.
When It Makes Sense to Call a Professional
Small cosmetic marks may appear straightforward, but the stakes are higher when the damage is large, recurring, water-related, on a ceiling, or located in a highly visible area. If a repair needs new drywall, tape, texture matching, extensive sanding, or painting, professional service can prevent the cycle of patching the same issue repeatedly.
For Toronto and GTA property owners, Maximum Services provides drywall repair and interior finishing with the preparation, care, and cleanup needed to make damaged walls look properly restored. The best repair is the one that blends into the room, holds up over time, and lets you stop noticing the wall for all the right reasons.
No responses yet