
Fresh paint can make a room feel new, but it cannot cover up poor preparation for long. This guide to interior paint preparation explains the work that happens before the first coat goes on: finding damage, repairing surfaces, controlling dust, protecting the home, and creating the clean foundation a quality finish requires.
For homeowners, condo owners, and landlords, preparation is often the difference between a paint job that looks good on day one and one that still looks smooth after daily life, moving furniture, and changing light reveal every flaw. A professional painting project should begin with the walls, ceilings, and trim in their actual condition, not with a quick coat intended to hide problems temporarily.
Why Interior Paint Preparation Matters
Interior paint follows the surface beneath it. If drywall has dents, popped fasteners, hairline cracks, old patch marks, grease, or loose paint, those issues can remain visible through even the best paint. Dark colors, satin and semi-gloss finishes, and rooms with strong natural light tend to make imperfections even more noticeable.
Preparation also affects adhesion. Paint needs a clean, stable surface. Dust, kitchen residue, hand oils around doors, and smoke film can prevent paint from bonding properly. The result may be uneven sheen, peeling, bubbling, or areas that wear sooner than expected.
A proper assessment helps determine the right level of work. A lightly used bedroom with sound walls may need minor filling and sanding. A rental unit after move-out, a hallway with repeated scuffs, or a room with previous water damage may require more extensive drywall repair, stain blocking, or spot priming. The goal is not to add unnecessary work. It is to address the conditions that would compromise the finished result.
Guide to Interior Paint Preparation: Start With an Assessment
Before furniture is moved or paint colors are discussed in detail, the space should be inspected under good lighting. A dependable contractor checks walls, ceilings, trim, doors, corners, window areas, and high-touch surfaces. This is the stage where small problems can be identified before they become visible again under fresh paint.
Common issues include nail holes, dents, drywall cracks, damaged outside corners, loose tape joints, uneven previous repairs, and stains from water, smoke, or furniture contact. In condos, it is also common to find wall damage from picture mounting, television brackets, shelving, and moving. In older homes, previous paint layers and settling cracks may need closer attention.
Water stains deserve special care. Painting directly over a stain can allow it to bleed back through the new finish. More importantly, the source of the moisture should be resolved before repair and painting begin. A surface can be restored, but ongoing moisture will eventually damage it again.
Protecting Floors, Furniture, and Adjacent Surfaces
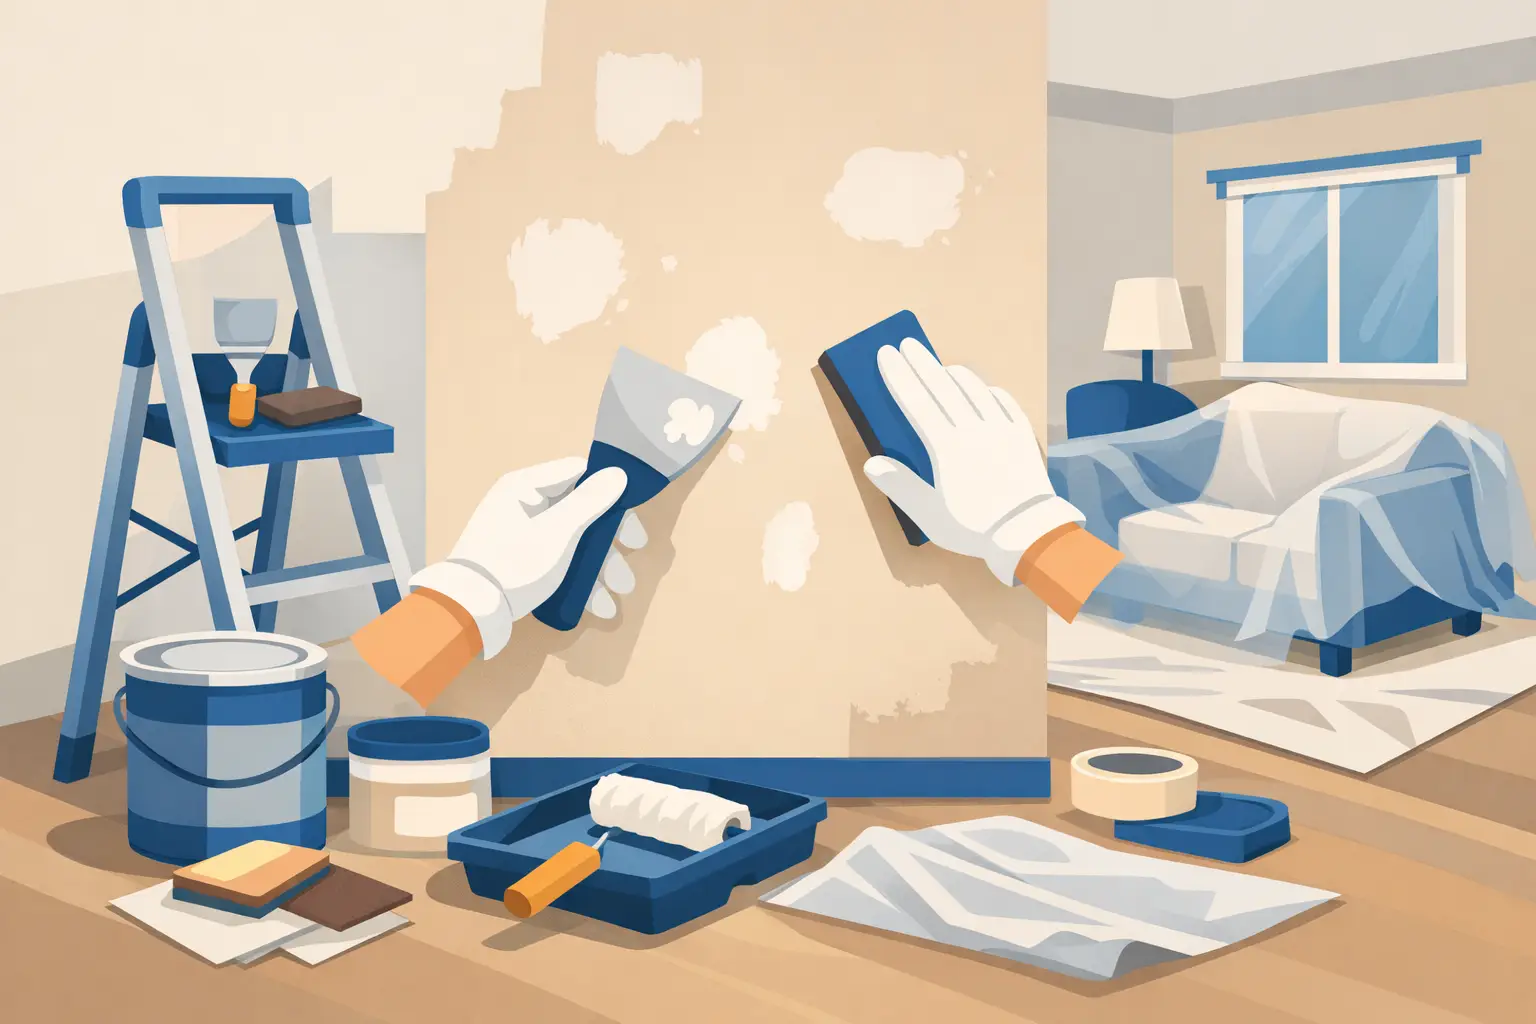
Clean work begins with proper protection. Floors should be covered with suitable drop cloths or protective materials, while furniture is moved away from work areas or carefully wrapped. Cabinetry, countertops, fixtures, baseboards, and nearby finished surfaces may need masking based on the scope of the project.
This is particularly important in occupied homes and condos, where residents need to continue using the space during the project. Good preparation is not only about walls. It is also about keeping the work area organized, reducing dust travel, and avoiding unnecessary disruption.
The amount of masking depends on the job. Repainting walls in an empty room is different from refinishing a furnished living room with detailed trim, built-ins, and hardwood floors. A professional should choose protection methods that provide clean edges and reliable coverage without leaving tape in place longer than necessary.
Repairing Drywall Before Painting
Drywall repair should be completed before the paint schedule is set. Small holes may only need filling, but cracks, damaged corners, larger openings, and failed joint tape require a more complete repair process. Simply applying paint over these problems may make them less obvious for a short time, but it will not restore a smooth, durable surface.
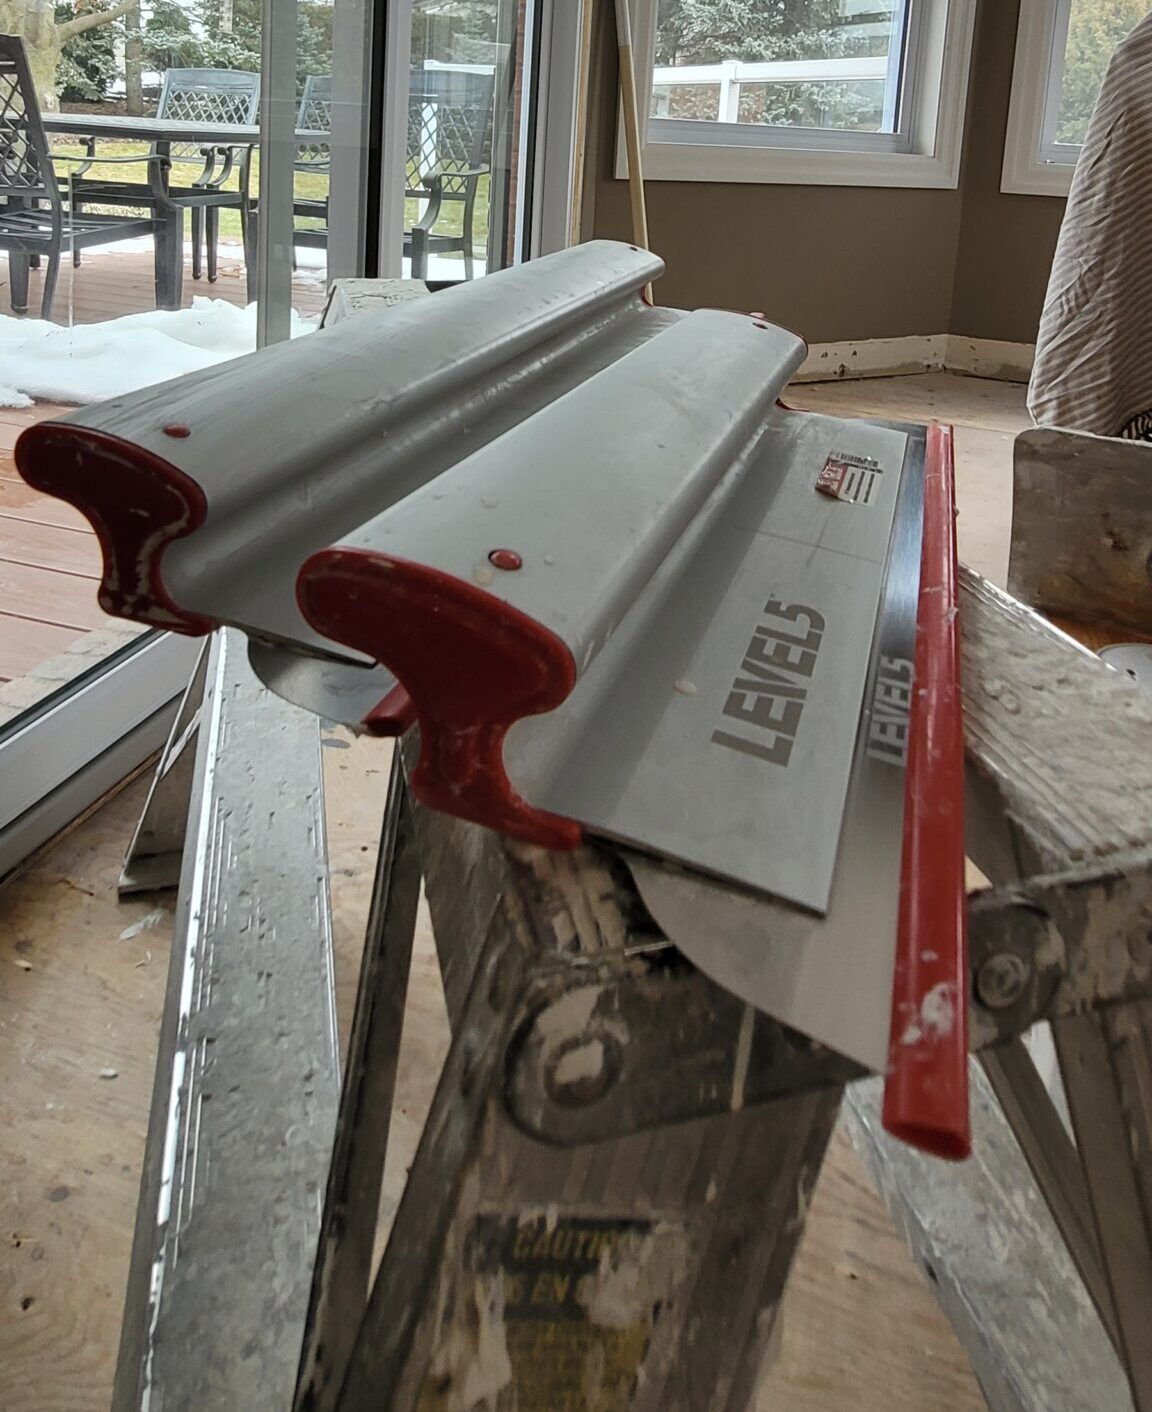
Repairs are typically built up in thin applications of compound, allowing adequate drying time between coats. The repaired area is then sanded to blend with the surrounding wall. This work takes patience because rushing drying or sanding can leave raised patches, ridges, or visible texture differences.
Texture matching can be another consideration. Some homes have orange peel walls, stippled ceilings, or older textured finishes that need to be blended after repair. Popcorn ceiling removal also requires careful preparation, especially where ceiling damage or unevenness becomes visible once the texture is removed. The right approach depends on the existing surface and the level of finish the homeowner expects.
Sanding, Cleaning, and Dust Control
Sanding is necessary for a smooth finish, but it should be controlled. Areas that have been patched need to be feathered into the wall so there is no noticeable edge under paint. Glossy trim, doors, and previously painted surfaces may also need light scuff sanding to improve adhesion.
After sanding, surfaces must be cleaned thoroughly. Fine dust left on walls or trim can affect paint bonding and leave a rough finish. Professional preparation includes removing sanding residue from the surface as well as managing dust in the work area. This matters even more in furnished homes, where dust can settle on floors, furniture, electronics, and window coverings.
Walls may also need washing where grease, fingerprints, smoke residue, or general buildup is present. Kitchens, bathrooms, entryways, and rental properties often require more cleaning than bedrooms or formal living spaces. Cleaning products should be appropriate for the surface and allowed to dry fully before primer or paint is applied.
Priming Is Not Always Optional
Primer is not simply an extra coat of paint. It serves a specific purpose when the surface is new, repaired, stained, unusually porous, or changing dramatically in color. Drywall patches can absorb paint differently from the surrounding wall, creating dull spots called flashing. Spot priming helps create a more even finish.
Stain-blocking primer may be needed for water marks, nicotine staining, smoke damage, ink, or other discoloration. For major color changes, a tinted primer or full prime coat can improve coverage and reduce the number of finish coats required. Skipping primer may save time at the start, but it can lead to inconsistent results and additional painting later.
The correct primer depends on the condition of the room and the chosen paint system. There is no one product that fits every wall. This is why an on-site assessment is more reliable than assuming a room only needs paint.
Preparation for Trim, Doors, and Ceilings
Walls receive most of the attention, but trim, doors, and ceilings can determine whether the room looks professionally finished. Trim often has dents, nail holes, caulk gaps, old brush marks, and areas of worn paint. These surfaces may need filling, sanding, cleaning, and caulking before they are coated.
Caulking is useful where trim meets the wall or where small gaps create a shadow line. It should be applied neatly and only where appropriate. Too much caulk can look messy, while gaps left untreated can make fresh paint appear incomplete.
Ceilings also need inspection before painting. Water stains, cracks, peeling areas, and texture damage should be repaired first. If popcorn ceiling removal is part of the project, the ceiling must be properly repaired and finished before wall painting begins. Coordinating the order of work avoids damage to freshly painted surfaces and keeps the project moving efficiently.
What a Professional Preparation Process Should Include
Homeowners should expect clear communication about what will be repaired, primed, and painted. A detailed quote should identify significant surface issues rather than treating all rooms as identical. It should also explain whether repairs are minor touch-ups or whether they involve broader drywall restoration.
Timing matters as well. Drywall compound, caulk, primer, and paint need appropriate drying time. Fast turnaround is valuable, but a rushed job can create avoidable flaws. The best approach balances efficiency with the time needed for each material to cure and for each surface to be checked before the next step.
Since 2001, Maximum Services has helped Toronto and GTA property owners restore interior spaces with careful drywall repair, clean preparation, and quality painting. For a room that needs more than a quick repaint, experienced preparation gives the final color the smooth, polished surface it deserves.
Before booking an interior painting project, walk through the room and look beyond the color you want. Notice the cracks, patches, stains, worn trim, and ceiling issues that need attention. Addressing them properly at the start is the most practical way to protect your investment and enjoy a finish that continues to look clean and well maintained.
No responses yet