
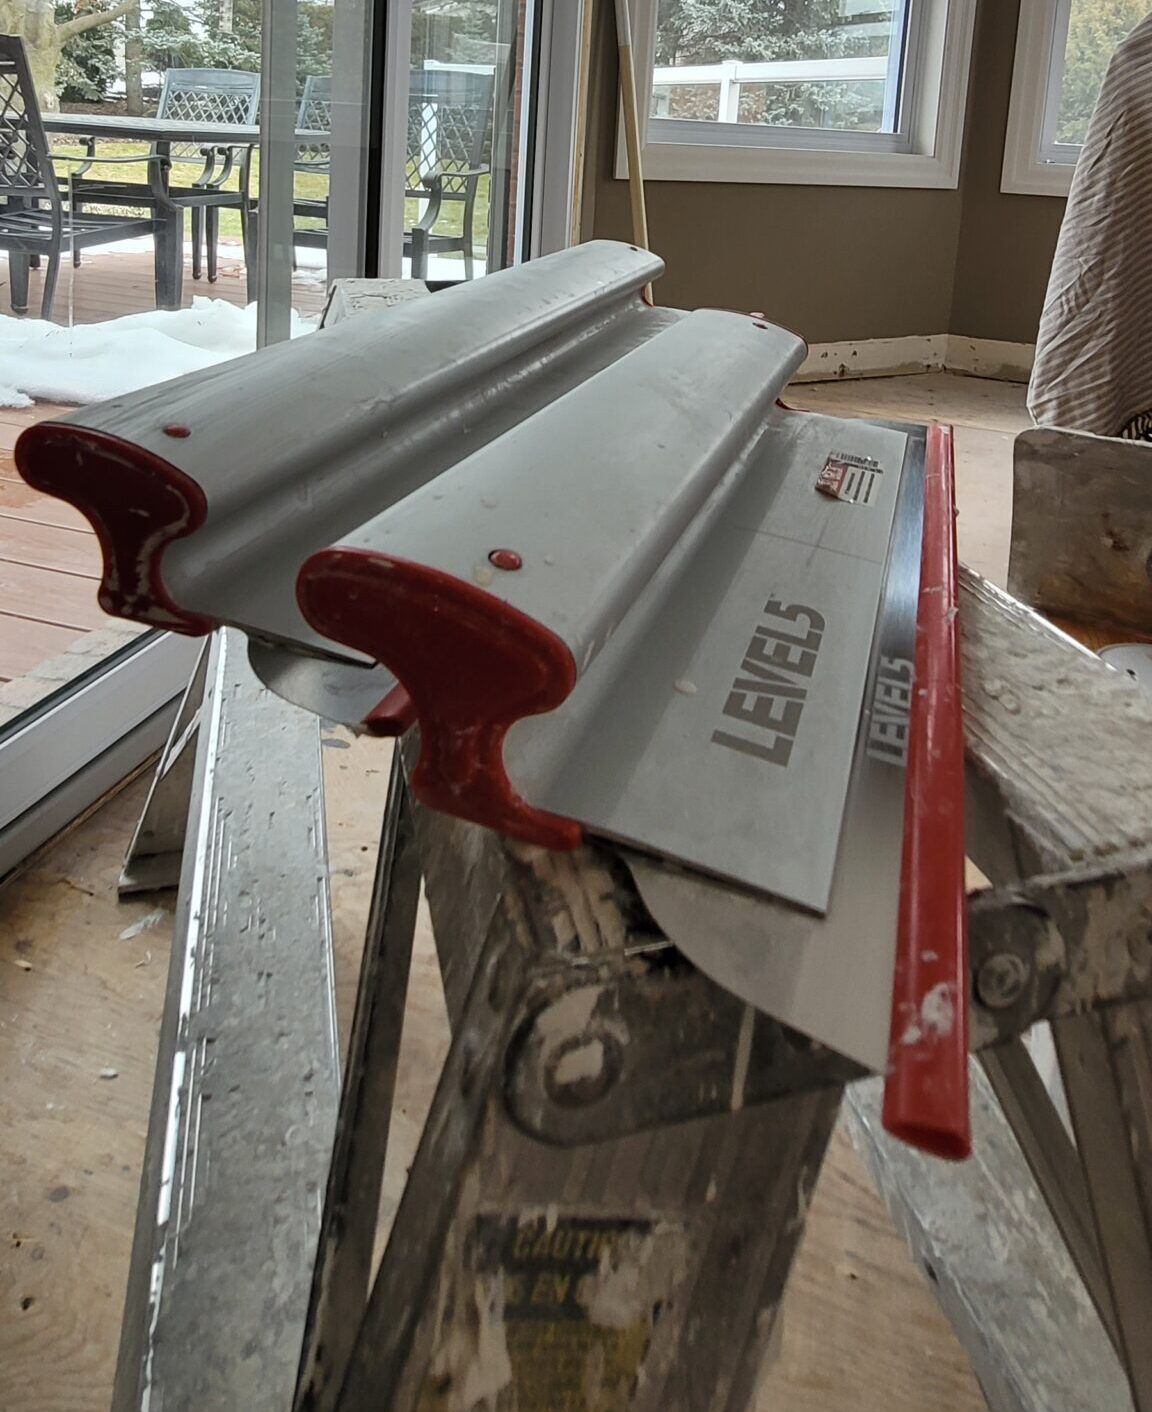
A drywall repair can look complete when the hole is filled and the patch feels solid, but painting after drywall repair is what determines whether the repair disappears or remains visible every time the light hits the wall. A rushed paint job can highlight patch edges, sanding marks, flashing, and differences in texture. Proper finishing creates the clean, uniform appearance homeowners expect.
For condo owners, homeowners, landlords, and property managers, the goal is usually straightforward: restore the room without creating a larger disruption. That requires more than applying a coat of paint over a repaired area. The drywall must be dry, smooth, primed, and properly blended before the final color goes on.
Why Drywall Repairs Show Through Paint
Fresh joint compound and existing painted drywall do not absorb paint the same way. A repaired area is more porous than the surrounding wall, even when it has been carefully sanded. If paint is applied directly to the patch, it may dry with a dull or uneven spot that is especially noticeable in daylight, under pot lights, or beside a window.
This effect is often called flashing. It can make a repair visible even when the paint color is correct. Paint sheen can also expose small imperfections. Flat paint hides more than eggshell or satin, while higher-sheen finishes reflect light and make uneven surfaces easier to see.
Texture is another common issue. A smooth patch placed in the middle of a lightly textured wall will stand out. The same applies when an old wall has multiple layers of paint, minor roller texture, or wear around high-traffic areas. The repair itself may be strong, but the finish needs to match the rest of the surface.
The Right Process for Painting After Drywall Repair
A professional result starts with assessing the condition of both the repair and the surrounding wall. The size of the damaged area matters, but so do its location, the wall texture, existing paint sheen, and the amount of light in the room. A small nail hole and a water-damaged ceiling section require very different preparation.
Allow the Repair to Fully Dry
Drywall compound needs adequate time to dry before sanding, priming, or painting. Drying time varies based on the thickness of the compound, room temperature, humidity, and airflow. Applying paint too soon can trap moisture and lead to soft spots, cracking, poor adhesion, or discoloration later.
This is one reason fast service should not mean skipped steps. An experienced crew can work efficiently while allowing each stage to cure correctly. When scheduling is tight, particularly in a condo before move-in or a rental between tenants, planning the repair and painting process in the right order helps prevent delays and rework.
Sand and Feather the Surface
The repair should blend gradually into the surrounding drywall instead of ending in a noticeable raised edge. This is done by feathering the joint compound beyond the damaged area and sanding it smooth once dry. The goal is not simply to make the patch feel flat to the hand. It must also look flat under changing light.
A careful inspection often reveals details that are missed at first glance: shallow ridges, pinholes, compound lines, and small depressions near the patch. These should be corrected before primer goes on. Paint is a finish coat, not a material for hiding poor surface preparation.
Dust control matters at this stage as well. Drywall sanding creates fine dust that can settle on trim, floors, furniture, and freshly painted surfaces. Clean job sites are part of a professional service, especially in occupied homes and condominiums where protecting the space is just as important as repairing it.
Prime the Repaired Area
Primer creates a consistent surface so the final paint absorbs evenly. For most standard repairs, the patched area should be primed before the finish paint is applied. Depending on the repair, a stain-blocking primer may be needed, especially after water damage, smoke staining, or marks that could bleed through paint.
Skipping primer can save a few minutes, but it often creates a visible difference in sheen and color. In many cases, the wall then needs another coat of paint or additional touch-up work. Priming first is usually the more reliable and cost-effective choice.
Match the Existing Paint Carefully
Color matching is not always as simple as using the name of an old paint color. Paint can change over time because of sunlight, cleaning, cooking, smoking, and normal aging. Even an exact manufacturer color may look different beside an older painted wall.
If there is leftover paint from the original job, it can be helpful, provided it is still in good condition. Otherwise, a paint sample can be matched as closely as possible. The finish must match too. A correct color in the wrong sheen can make the repaired section stand out immediately.
For small, isolated repairs, careful blending may be enough. For larger repairs, or when the wall has faded unevenly, repainting the full wall usually gives the best result. Painting from corner to corner avoids visible overlap lines and creates a consistent finish. In open-concept spaces, the best approach depends on where the repair is located and whether the adjacent walls receive similar light.
When One Wall Should Be Repainted
Homeowners often ask whether a repaired spot can simply be touched up. Sometimes it can, especially if the paint is recent, the repair is small, and the original paint is available. However, a touch-up is not guaranteed to disappear, even with a close color match.
Repainting the entire wall is typically recommended when the patch is larger than a minor dent, when the existing paint has aged, or when the wall is painted in eggshell, satin, or semi-gloss. It is also a better option for walls with strong natural light, which tend to reveal differences in texture and sheen.
Ceilings require similar care. Ceiling paint is usually flat, but repaired ceiling areas can still flash or show a texture difference. If a leak, crack, or popcorn ceiling removal has led to a broad repair, repainting the complete ceiling often produces the cleanest result.
Common Problems Caused by Rushing the Finish
The most frustrating drywall repairs are the ones that look acceptable at first but become obvious after the paint dries. Common problems include a dark or dull patch, a shiny repair area, rough sanding scratches, roller marks, visible edges, and paint that peels because the surface was not properly prepared.
Water-related repairs need extra attention. The source of moisture must be corrected before drywall is repaired and painted. Covering a stain without addressing the leak can lead to recurring damage, mold concerns, and another repair bill. Once the area is dry and stable, the damaged material can be repaired, sealed with the appropriate primer, and painted properly.
What to Expect From a Professional Drywall and Painting Service
A dependable contractor should assess the damage before recommending a solution. The service should account for repair work, drying time, surface preparation, priming, paint matching, protection of nearby areas, and cleanup. Clear communication about what will be painted is particularly useful when deciding between a spot repair, one wall, or a full room refresh.
At Maximum Services, the focus is on completing drywall repair and interior painting as one coordinated process. That helps avoid the common gap between a structurally sound repair and a finish that still looks unfinished. Attention to preparation, clean work areas, and a consistent final coat makes a real difference in how the room looks when the work is done.
For rental properties, repairs between tenants can also be an opportunity to address scuffs, nail holes, damaged corners, and outdated paint in one visit. For homeowners preparing to sell, a clean wall and even paint finish can make a room feel better maintained without requiring a major renovation.
A well-finished repair should not draw attention to itself. If you can see the patch from across the room, notice it under the lights, or feel a ridge when you pass your hand over the wall, the surface likely needs more preparation before painting. Taking the time to repair, prime, and paint in the proper sequence is what turns damaged drywall back into a clean, finished part of your home.
No responses yet