
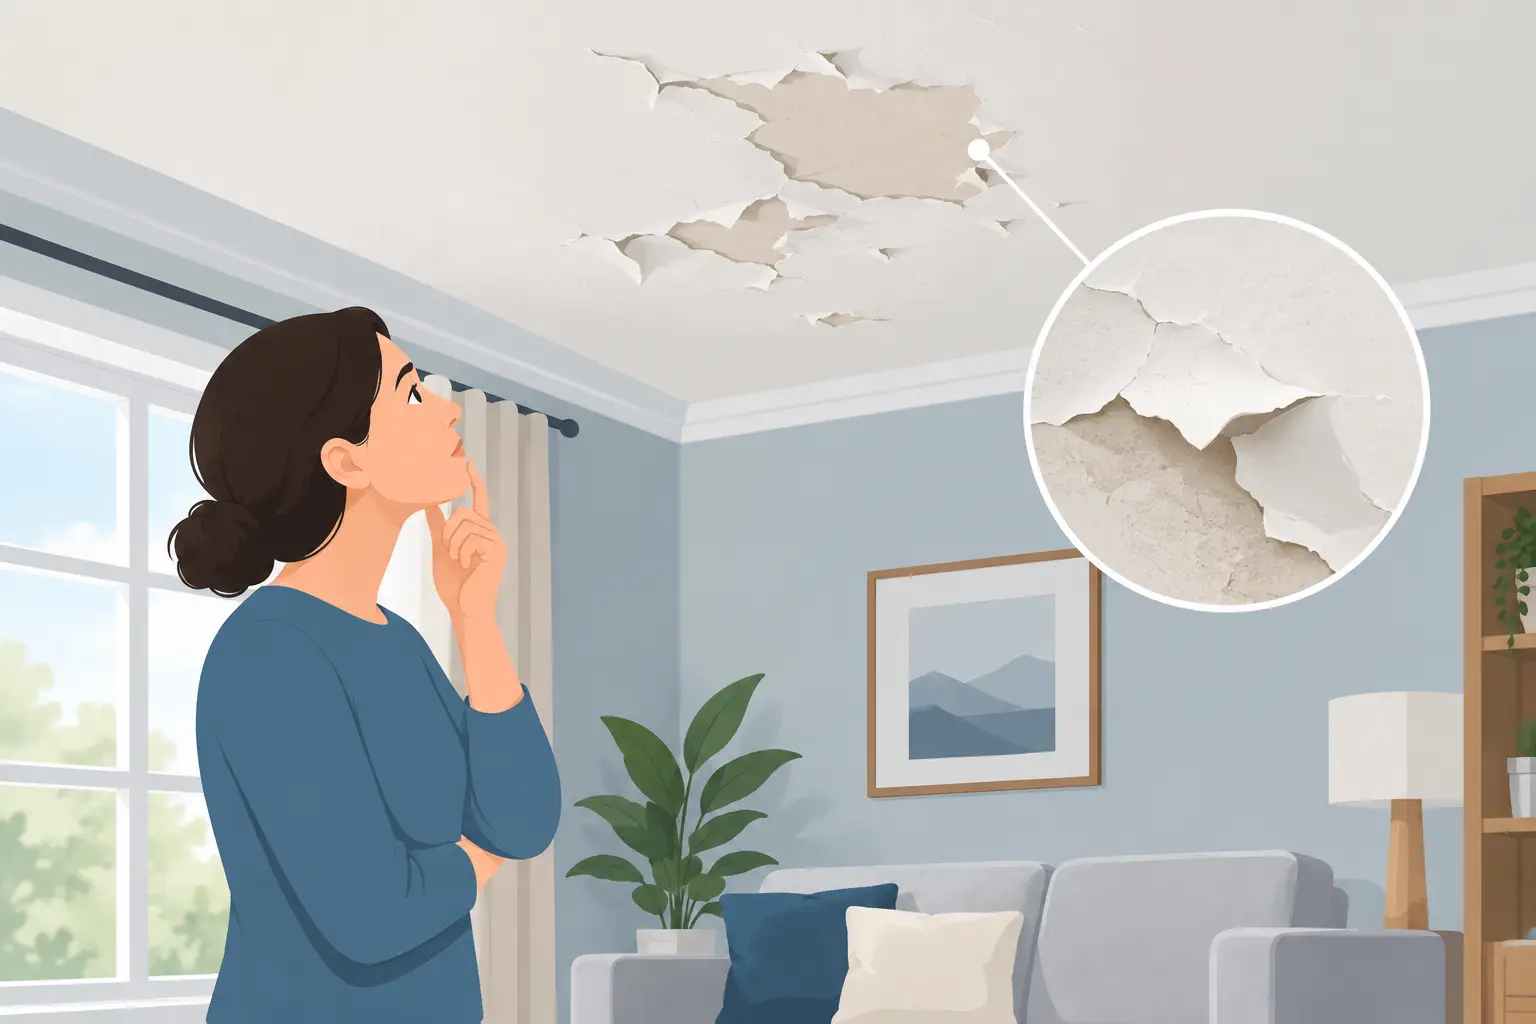
A few loose flakes near a bathroom fan can become a much larger ceiling repair faster than most homeowners expect. If you are asking, why does ceiling paint peel, the paint itself is rarely the only issue. Peeling usually means the ceiling surface lost its bond because of moisture, poor preparation, an incompatible coating, or movement in the drywall beneath it.
The visible damage may be small, but the right repair depends on what caused it. Simply painting over lifting paint can leave you with the same problem again, often within weeks or months. A proper assessment helps protect the finish and avoids covering up a leak or an ongoing humidity problem.
Why Does Ceiling Paint Peel? The Main Causes
Ceilings are exposed to conditions that walls often avoid. Steam rises, warm air collects overhead, roof or plumbing leaks can travel unnoticed, and older ceiling surfaces may have several paint layers with different levels of adhesion. The location and appearance of the peeling provide useful clues.
Moisture from leaks or high humidity
Water is one of the most common reasons ceiling paint fails. A leaking pipe, bathroom plumbing issue, roof leak, overflowing fixture, or condensation in an attic can saturate drywall and weaken the bond between paint and the surface below. In condos, the source may even be a unit above yours, which makes prompt investigation especially important.
Moisture-related peeling often appears with yellow or brown staining, a soft spot, sagging drywall, bubbling, or a musty odor. In a bathroom or laundry room, repeated humidity may cause paint to blister or peel even without an active leak. A weak exhaust fan, short fan run time, or frequent hot showers can leave enough moisture on the ceiling to damage a standard paint finish.
The repair should not begin with paint. First, the moisture source needs to be corrected and the ceiling must dry completely. Painting a damp surface traps the problem rather than solving it.
Poor surface preparation
Paint needs a clean, stable surface to hold properly. Ceilings can collect dust, cooking residue, smoke film, and bathroom products over time. If a previous painter coated over residue, loose paint, chalky old paint, or damaged drywall paper, the new paint may eventually release.
This is particularly common after an inexpensive refresh where the ceiling was painted quickly without proper scraping, cleaning, patching, priming, or sanding. The finish can look acceptable at first, then begin lifting in sheets when humidity changes or the surface is disturbed.
A durable repair requires removing all loose material, stabilizing the affected area, and preparing the edges so they blend smoothly into the surrounding ceiling. The goal is not just to hide the peeled spot. It is to create a sound surface that can accept primer and finish paint properly.
Paint applied over an incompatible surface
Not all coatings work well together. A common example is latex paint applied over an older oil-based or glossy painted ceiling without the right bonding primer. The new coating may not grip the old one, causing peeling, cracking, or flaking later.
The same problem can occur when paint is applied over wallpaper adhesive, popcorn ceiling residue, textured coatings, or a surface treated with stain blockers or patching compounds that were not properly primed. In older homes, multiple repainting cycles can leave a ceiling with layers that no longer perform as one stable finish.
Professional surface testing can help determine whether the old coating is sound and what primer is appropriate. This matters most when the peeling affects a wide area or returns after previous repairs.
Drywall damage and joint movement
Sometimes the paint is peeling because the drywall surface underneath has failed. Water damage can break down the drywall facing paper. Old repairs may have weak compound adhesion. Movement along drywall seams can create fine cracks that allow paint edges to lift.
Ceiling cracks near a wall, around a bulkhead, or along a drywall joint are not always serious structural concerns, but they should be assessed before refinishing. If the drywall is loose, soft, stained, or uneven, paint alone will not provide a clean, long-lasting result.
A proper repair may involve removing damaged drywall, securing loose areas, re-taping seams, applying joint compound, sanding, priming, and repainting the full ceiling for an even appearance.
What the Peeling Pattern Can Tell You
The size, location, and texture of peeling paint help narrow down the cause. Paint that lifts in thin sheets near a shower or kitchen is often related to humidity or poor adhesion. Peeling around a light fixture, sprinkler head, or ceiling vent may point to condensation or a leak above.
A large soft or discolored area deserves more attention. It may indicate water has entered the drywall cavity, even if the ceiling feels dry today. Water can travel along framing or pipes and emerge some distance from the original source.
If paint is flaking across much of the room without staining, poor prep or incompatible paint is more likely. This can happen in older properties where surfaces were repainted repeatedly without removing unstable layers. The correct solution is usually more involved than spot painting, but it produces a much more consistent finish.
Why Painting Over Peeling Paint Usually Fails
It is tempting to brush away the loose pieces and apply a fresh coat. The problem is that the visible edge is not always the end of the failed area. Paint may appear firmly attached beside the peel but still release once it gets wet, expands, or receives another coat.
Painting directly over loose material can also create a raised patch that remains visible under ceiling lighting. In rooms with smooth ceilings, even a minor repair can stand out if it has not been feathered, sanded, and blended correctly.
For a sound repair, loose paint must be removed until only firmly bonded material remains. The surface should then be cleaned, repaired as needed, sealed with the correct primer, and painted with a suitable ceiling coating. If staining is present, a stain-blocking primer is often necessary before the final finish is applied.
When Ceiling Paint Peeling Needs Professional Repair
Small, isolated peeling in a dry room may be straightforward once the cause is known. However, professional help is a smart choice when damage is recurring, widespread, water-stained, soft to the touch, or located near plumbing fixtures. These signs can mean the repair needs more than surface-level preparation.
It is also worth bringing in an experienced painter or drywall repair contractor when the ceiling has a textured finish, popcorn texture, visible seams, or a large damaged section. Matching ceiling texture and avoiding patch lines takes careful preparation. In condos, documentation and clear communication can also be helpful if the issue involves a neighboring unit, building plumbing, or property management.
Maximum Services has worked with homeowners and condo residents on drywall repairs and interior ceiling finishing since 2001. A professional assessment can identify whether the issue is limited to paint adhesion or whether drywall repair and moisture correction should happen first.
How a Proper Ceiling Repair Is Done
The best repair process is based on the condition of the ceiling, not just the appearance of the paint. The work begins by identifying and addressing any active water or humidity issue. Once the source is controlled and the area is dry, failed paint, damaged drywall paper, and unstable joint compound are removed.
The ceiling is then repaired and leveled with the appropriate materials. This may include patching, taping, skim coating, or replacing a damaged drywall section. After sanding and dust control, the repaired area is primed to promote adhesion and block staining where needed.
Finally, the ceiling is painted with the right product for the room. Bathrooms, kitchens, and laundry areas may require a more moisture-resistant finish than a low-traffic bedroom. For a uniform result, repainting the entire ceiling is often better than touching up only the repaired section, especially if the existing paint has aged or changed color.
Preventing Peeling After the Repair
Prevention comes down to controlling moisture and maintaining a stable surface. Run bathroom exhaust fans during showers and for a period afterward. Address roof, plumbing, and condensation concerns promptly. If a ceiling stain appears, do not wait for it to grow before investigating.
When repainting, surface preparation and primer selection matter as much as the final coat. A clean, dry, properly repaired ceiling gives new paint the foundation it needs to stay smooth and durable.
A peeling ceiling is frustrating, but it is also useful information. Treat it as a sign to look below the paint layer, correct the real cause, and restore the ceiling with a repair that looks clean and holds up over time.
No responses yet