
A small round bump in an otherwise smooth wall can make an entire room look neglected. Homeowners often notice these raised spots after repainting, during a home sale, or when afternoon light casts shadows across the wall. Understanding what causes drywall nail pops helps determine whether you are seeing ordinary house movement or a problem that needs prompt attention.
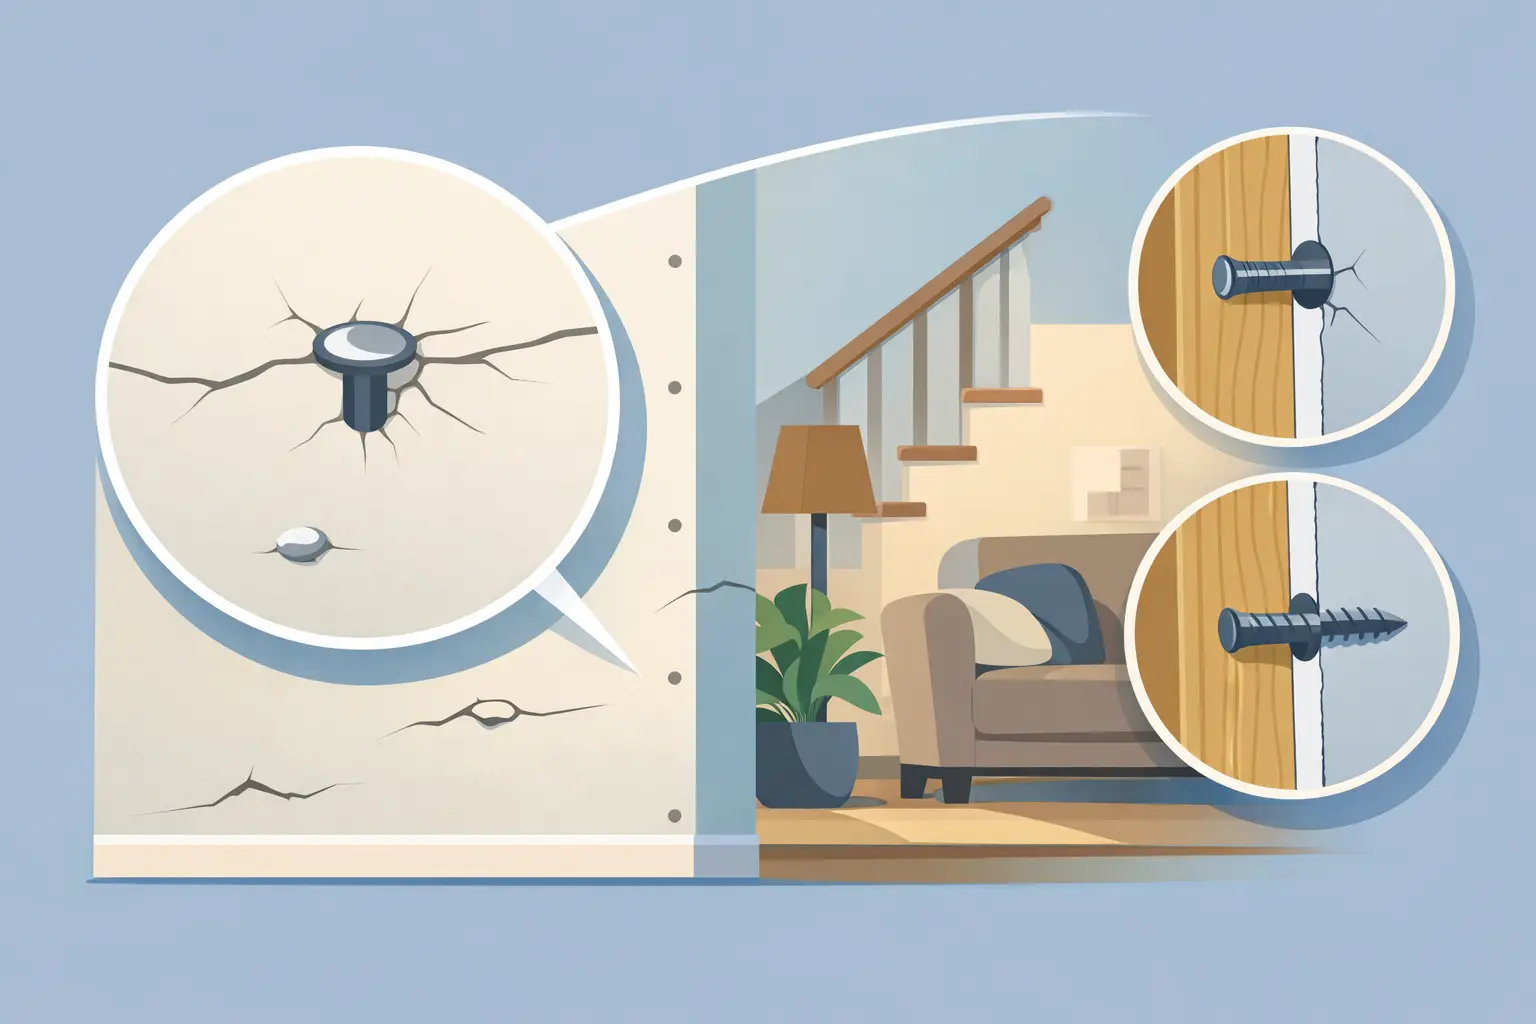
A nail pop happens when the head of a drywall nail, screw, or fastener pushes against the joint compound and paint covering it. The drywall itself may remain intact, but the finished surface lifts, cracks, or forms a visible circle. It is a common repair in houses, condos, and rental properties, especially where temperature, humidity, and building movement change through the year.
What Causes Drywall Nail Pops Most Often?
The most common cause is movement between the drywall and the wood or metal framing behind it. Drywall is fastened to studs and ceiling joists, while the framing can expand, contract, settle, or shift slightly over time. Even small movement can loosen a fastener enough for its head to press forward through the finished surface.
A pop does not automatically mean there is a serious structural issue. Many are cosmetic and isolated. However, recurring pops, long cracks, staining, or a cluster of damaged areas can point to conditions that should be assessed before the wall is repaired and painted.
Lumber shrinkage and normal settling
Wood framing contains moisture when a home is built. As it dries, it can shrink or twist slightly. This changes the pressure around drywall fasteners and may allow a nail or screw to move. Newer homes frequently develop a few pops as materials settle during the first years of occupancy.
Older homes can develop them as well. Seasonal movement, minor settling, renovations, and changes in heating or cooling can all affect the framing over time. In Toronto and the GTA, the swing between dry heated winters and humid summers can make these small changes more noticeable.
Seasonal humidity and temperature changes
Drywall, framing, and joint compound do not all react to humidity in exactly the same way. Wood can swell as humidity rises and shrink as indoor air becomes dry. Repeated expansion and contraction may gradually push a fastener forward or crack the compound covering it.
This is especially common along exterior walls, upper-floor ceilings, and rooms with variable humidity. A properly repaired pop can still return if the underlying movement remains active, which is why the repair method matters more than simply covering the spot with filler.
Improper fastening during installation
Fastener placement is another frequent cause. Nails that were not driven firmly enough, screws set too shallow, or fasteners spaced incorrectly can work loose over time. A fastener can also lose its hold if it misses the center of the stud or joist.
Drywall installers need to set fasteners at the proper depth: deep enough to create a slight dimple for compound, but not so deep that the paper face tears. When the paper breaks, the fastener has less holding strength. The wall may look fine at first, then develop pops later as the drywall shifts.
Drywall movement from framing gaps or flexing
Drywall needs solid support behind it. If there is a gap between the drywall and a stud, or if framing is uneven, the panel can flex when doors close, people walk above, or the building moves slightly. That movement puts stress on the nearest fasteners and can produce pops or cracks.
Ceilings deserve particular attention because they are affected by joist movement, attic conditions, and vibration from upper floors. Nail pops on a ceiling may be isolated, but several pops in the same area can indicate that the drywall needs to be secured more thoroughly before refinishing.
Moisture and water damage
Water is a different category of concern. A slow roof leak, plumbing leak, condensation issue, or moisture from above can soften drywall, weaken fastener holding power, and stain the surface. In some cases, the drywall around the pop feels soft, looks discolored, or begins to sag.
Do not treat a suspected moisture issue as a simple cosmetic repair. The water source must be found and corrected first. Applying compound and paint over damp or damaged drywall may hide the evidence briefly, but the damage is likely to return and may spread.
When a Nail Pop Is More Than a Cosmetic Issue
One or two clean, dry nail pops on an otherwise sound wall are usually routine drywall repairs. The situation deserves closer review when pops occur with other changes in the surface.
Watch for cracks that extend from doors, windows, or ceilings; bubbling paint; brown or yellow stains; sagging drywall; soft areas; or multiple new pops appearing in a short period. Doors that suddenly stick, gaps opening around trim, or noticeable ceiling movement can also be signs that there is more going on than a loose fastener.
Condo owners should also consider the location of the problem. A ceiling stain or soft spot beneath another unit may require building management or a plumber to investigate before repairs begin. Repairing drywall before the source is resolved can lead to repeat work and unnecessary cost.
Why Covering a Nail Pop Usually Does Not Last
A quick coat of spackle may make a pop look better for a short time, but it does not correct the movement that pushed the fastener forward. If the original nail or screw remains loose, the same pressure can crack the new filler and bring the bump back through the paint.
A lasting repair normally starts by checking the drywall around the pop and securing the panel to sound framing. A qualified drywall professional may add properly placed screws near the affected fastener, address the loose nail or screw, and make sure the board is held firmly without breaking the drywall paper.
The area is then built back up with joint compound in thin coats. Each coat must dry properly before sanding, priming, and painting. The goal is not only to hide a circle on the wall. It is to restore a flat surface that blends with the surrounding texture, sheen, and color.
What Professional Drywall Nail Pop Repair Includes
The right repair depends on the wall condition, the number of pops, and whether there are signs of moisture or active movement. For an isolated, dry pop, the work is usually straightforward. For repeated ceiling pops or damage around a seam, additional fastening and broader surface preparation may be needed.
A professional repair process typically includes inspection, stabilization, compound application, careful sanding, spot priming, and paint touch-up or repainting of the affected area. Paint matching is often the final challenge. Even an excellent patch can stand out if the sheen is wrong or the existing paint has faded over time.
Clean workmanship also matters. Drywall sanding creates fine dust, and a repair should be contained and cleaned properly, particularly in occupied homes and condos. Maximum Services handles drywall repair and interior painting with attention to surface preparation, clean job sites, and a finished appearance that does not call attention to the repair.
Can Nail Pops Be Prevented?
Not every nail pop can be prevented because homes naturally move. Proper installation makes a significant difference, though. Drywall should be secured to solid framing with correctly placed fasteners, and any visible movement or moisture issue should be addressed before finishing begins.
Maintaining stable indoor humidity can also reduce seasonal stress on wood framing and finished surfaces. That said, homeowners should not expect humidity control alone to fix a loose fastener or active water problem. The wall needs to be inspected and repaired based on the actual cause.
If a nail pop keeps returning, appears near a stain, or is part of a larger pattern of cracks, it is worth having an experienced drywall contractor look at it before repainting. A proper repair protects the finish, avoids repeat patching, and lets the room look clean and cared for again.
No responses yet